When new recipes start piling up – especially during a shift toward more plant-based cooking – it becomes harder to keep track of what works, what’s worth repeating, and what still needs testing. A simple recipe binder creates an easy system for managing all those new ideas in one place.
While the examples here lean toward plant-based, this method works for any way of cooking. The goal is the same: fewer lost recipes, less kitchen stress, and a smoother path from meal planning to dinner on the table.
Why a Recipe Binder Makes Life Easier
Trying new recipes is exciting, but without a system, printed pages, screenshots, and bookmarks quickly turn into clutter. Favorite recipes get buried, duplicates get printed, and meal planning starts to feel harder than it needs to be.
A recipe binder gives every recipe a home. It keeps tried-and-true favorites easy to find and new ideas organized until they earn a permanent spot. Cooking becomes more efficient, and planning meals feels far more manageable.
Bringing Order to Kitchen Chaos
A personalized recipe binder creates a dedicated space for recipes that actually get used. With clearly labeled tabs and sections, it’s easy to flip directly to breakfasts, soups, main dishes, or desserts without scrolling or searching.
Instead of juggling papers or devices, everything lives in one place – accessible, organized, and ready when it’s time to cook.
How to Create a Custom Recipe Binder
This project takes about 30 minutes once supplies are gathered. A more detailed walkthrough is available on our HOW TO CREATE A PLANT-BASED RECIPE BINDER page, but this overview covers everything needed to get started.
Step 1 – Gather Your Supplies
Here are the supplies you’ll need to make your recipe binder. Many of these items may already be on hand:
- 3-Ring Binder (2 Inch): Choose one that suits your style.
- 3-Ring Pocket Dividers: Durable dividers make categorizing easy.
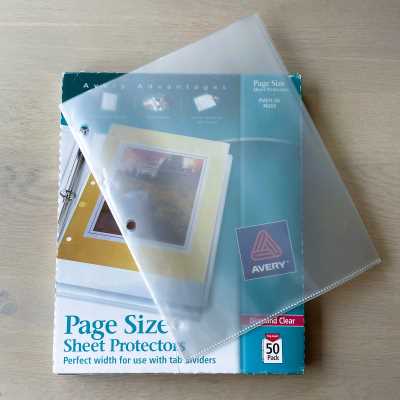
- “Page Size” Sheet Protectors: Keep recipes clean and manageable.
- 3-Hole Punch: A desktop punch simplifies filing.
- Printer Paper: Ideal for printing online recipes.
- Highlighters: Use them to mark recipe notes.

Any missing items can be picked up easily. For your convenience, check out our affiliate link RECIPE BINDER COLLECTION AT WALMART to quickly grab everything you need (purchases via this link help support my blog at no extra cost to you).
Step 2 – Create Divider Tabs
Choose the setup that feels simplest:
- Use pre-made printable tabs for quick organization
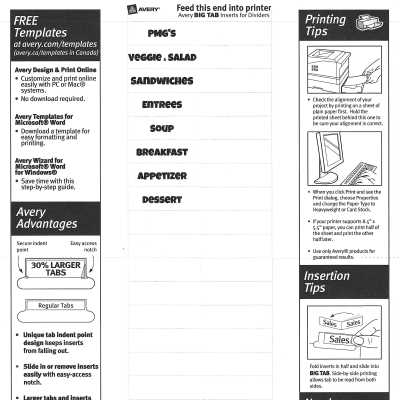
- Create custom tabs using a free Avery account for personalized labels
The goal is clarity and ease of use, not perfection.
Step 3 – Set Up the Binder
Insert dividers and label sections such as breakfast, soups, main dishes, and desserts. For a plant-based focus, adding sections that align with the PLANT-BASED ROADMAP QUESTIONNAIRE. This step ensures your binder aligns with your cooking habits and preferences.
Step 4 – Add Helpful Guides
Including reference pages makes the binder even more useful. Consider adding:
- A staple ingredient list
- BEGINNER PLANT-BASED FOOD GUIDES
These pages are especially helpful during meal planning and grocery shopping.
Step 5 – Start Adding Recipes
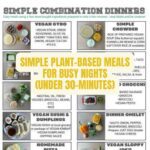
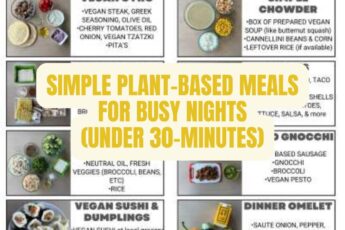
Begin with about 10 recipes that are already loved or exciting to try. For plant-focused inspiration, the EASY PLANT-BASED RECIPES collection is a helpful starting point.
Here are some helpful tips for managing your recipes:
Print recipes on one side of a sheet for easy filing.
- Print recipes on one side of the page whenever possible: This makes filing and flipping through your binder much easier, especially once it starts to fill up. Our “signature one-page recipes” are intentionally designed to fit on a single sheet so they slide neatly into a sheet protector and stay simple to use while cooking.
- If a recipe needs two pages, print it front and back on one sheet instead of using two separate pages: This keeps everything together in one sleeve and prevents pages from getting separated or out of order while you’re cooking.
- If a recipe is spilling onto three pages, take a closer look before printing: Often the final page includes long introductions, notes, or extra tips that aren’t necessary once you’re in the kitchen. If the third page really is all essential, that’s okay – but it can also be a sign the recipe may be more complicated than it needs to be. Trust your instincts and decide whether it’s something you’ll realistically enjoy making.
Use sheet protectors to keep recipes clean while cooking.
- For tried-and-true recipes: Keep the page in a sheet protector and remove it from the binder while you cook. This protects the recipe from spills and splatters and keeps the binder out of the way. If it gets messy, simply wipe off the sheet protector, let it dry, and return it to the binder when you’re done.
- Make notes directly on the recipe page: When you want to adjust seasoning, swap an ingredient, or remember a change for next time, pull the recipe out of the sheet protector and write directly on the paper. Once finished, slide it back into the protector and return it to the binder. These notes make a big difference when remaking recipes and help tailor them to your tastes over time.
File recipes based on a plan, whether you love them or want to try them.
- For recipes you already love: Three-hole punch the recipe, slide it into a sheet protector, and file it under the appropriate tab in your binder. These are your go-to recipes that deserve a permanent home.
- For recipes you want to try: Place the recipe directly into the pocket of the divider for that category. This keeps “test recipes” separate and easy to find without committing them to the binder just yet. For example, this HEARTY LENTIL SOUP recipe would live in the Soups, Stews, and Chilis pocket until it proves itself. Once it becomes a keeper, move it into a sheet protector and file it directly into the binder under that section.
Maintaining Your Recipe Binder
A few simple habits keep the system working:
- During meal planning, pull recipes for the week and build a grocery list
- While cooking, jot notes directly on recipes for future tweaks
- After cooking, refile recipes promptly
- When finding new recipes, file them right away
As the collection grows, adding subcategories like Italian or Mexican can make recipes even easier to find.
Common Recipe Binder Mistakes to Avoid
A recipe binder doesn’t need to be perfect to be useful, but a few small missteps can make it harder to maintain over time.
- Overcomplicating the categories
Too many sections can make filing feel like a chore. Start broad and add subcategories later only if you truly need them. - Printing everything at once
It’s tempting to fill the binder quickly, but starting with a small set of favorite or soon-to-try recipes keeps the system manageable. - Letting “to try” recipes pile up
Pocket dividers are great for testing, but make it a habit to either promote a recipe to keeper status or remove it after a few tries. - Forgetting to update notes
Small adjustments add up. Taking a moment to jot down what worked (or didn’t) makes future cooking easier and more enjoyable.
How Your Recipe Binder Grows With You
A recipe binder isn’t static. As tastes change, cooking skills grow, or plant-based meals become more familiar, the binder naturally evolves. Some recipes get retired, others become staples, and new sections appear as routines shift.
That flexibility is what makes this system work long term – it adapts right along with real life.
Not at all. While the examples shared lean plant-based, this recipe binder system works for any style of cooking. The goal is simply to organize recipes in a way that makes them easy to find and use.
A 2-inch, 3-ring binder works well for most people starting out. It provides enough space for recipes, guides, and notes without becoming bulky. You can always move to a larger binder later if your collection grows.
It’s best to start small. Begin with recipes you already love or are excited to try soon. This keeps the binder manageable and prevents it from filling up with recipes you may never make.
The key is simple habits. File new recipes right away, move “to try” recipes into permanent sections once they become favorites, and make notes as you cook. Small updates over time keep the system working smoothly.